Cómo grabar audio de alta calidad para obtener mejores resultados de transcripción
Cómo grabar audio de alta calidad para obtener mejores resultados de transcripción
Hemos revisado los herramientas de conversión de audio a texto en el mercado, ya sea para iOS, Androido Plataformas Windows.
Sin embargo, las capacidades de las herramientas de IA son limitadas. precisión de la transcripción es la calidad del audio.
Grabar un audio nítido es la base de una transcripción precisa. He pasado mucho tiempo experimentando con configuraciones y puedo afirmar con seguridad que cuanto mejor sea el audio, menos tiempo pasarás corrigiendo errores más adelante.
Esto es lo que he aprendido que funciona.
Por qué es importante el audio de alta calidad
Un audio de mala calidad significa que tu herramienta de transcripción tiene dificultades para distinguir las palabras, lo que provoca errores. Una mala calidad de audio puede reducir la precisión de herramientas de transcripción como Otter hasta 85%.
Un audio limpio no sólo suena bien, sino que proporciona al software de transcripción una señal clara con la que trabajar. En última instancia, reducirá significativamente la carga de trabajo de postedición y corrección.
Comprender los fundamentos de la calidad de audio
La calidad del audio depende de la velocidad de bits y la frecuencia de muestreo. Yo suelo grabar a una frecuencia de muestreo de 44,1 kHz y una tasa de bits de 256 kbps en WAV o MP3 de alta calidad. Los archivos WAV son más grandes pero conservan más detalles, lo que ayuda a la precisión de la transcripción.
Comparación de varios formatos de audio:
Formato de audioDescripciónProsContrasWAVFormato de audio sin comprimirMáxima precisión, alta calidadArchivo de gran tamañoMP3Formato de audio comprimidoMenor tamaño de archivo, muy utilizadoPuede perder algún detalleAACFormato comprimido similar al MP3, favorecido por AppleBuena calidad, compresión eficazTambién compresión con pérdidas
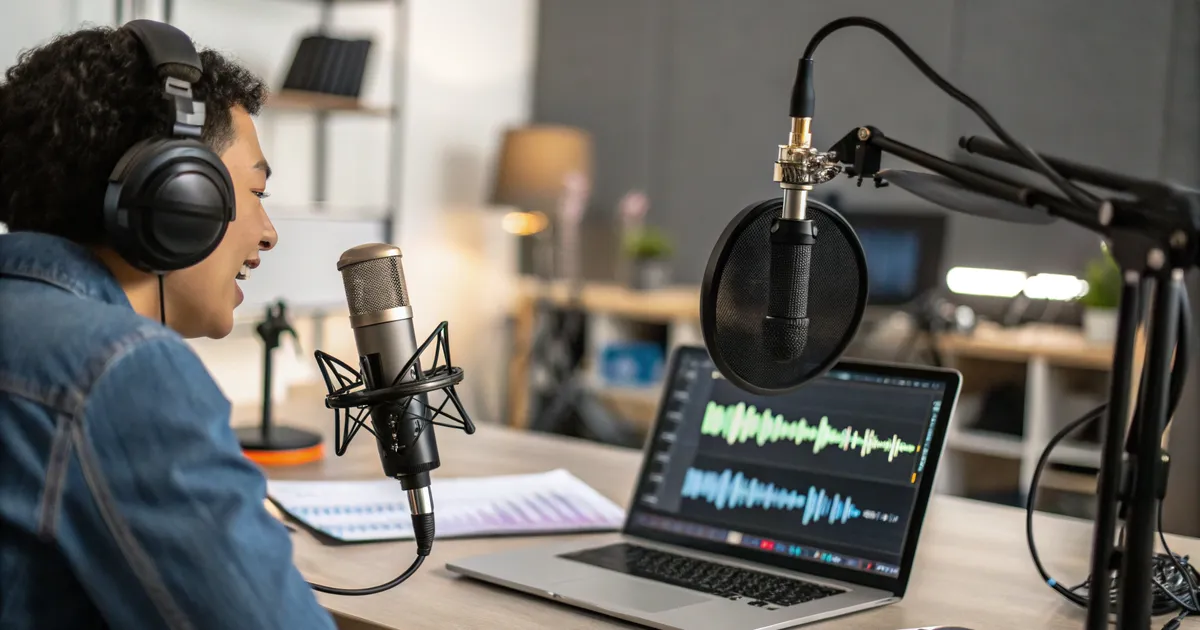
Elija el equipo adecuado
Recomiendo invertir en un buen micrófono. Los micrófonos de condensador USB ofrecen una captura de voz nítida a un precio razonable.
Para grabar sobre la marcha, un micrófono de solapa conectado al teléfono funciona bien.
Evita los micrófonos integrados en los portátiles: son ruidosos y captan el eco de la sala.
Configurar el entorno de grabación
Las habitaciones silenciosas marcan una gran diferencia. Yo grabo en una habitación pequeña con moqueta y cortinas gruesas para reducir el eco.
Si no es posible, los paneles de espuma o incluso las mantas colgantes ayudan a absorber los reflejos del sonido. Evita las habitaciones con superficies duras que crean reverberación.
Utilizar técnicas de micrófono adecuadas
Mantén el micrófono a una distancia de entre 20 y 30 cm de la boca. Si lo acercas más, corres el riesgo de que suene a chasquido; si lo alejas demasiado, tu voz se apagará.
Yo siempre utilizo un filtro antipop para reducir los sonidos ásperos de "p" y "b". Habla directamente hacia el micro, pero no fuera del eje.
El software de grabación y los ajustes son importantes
Utilizo Audacity gratis, o Adobe Audition para un mayor control. Controla siempre los niveles durante la grabación: busca picos en torno a -6 dB para evitar recortes.
Graba en WAV o en MP3 de la mejor calidad que admita tu programa. El audio cortado o distorsionado es una pesadilla para la transcripción.
También puedes utilizar una aplicación de transcripción como VOMO. También funciona muy bien.
Hablar con claridad y gestionar varios oradores
Habla despacio y en voz alta, sobre todo si la grabación es para transcribirla. Si hablan varias personas, procura turnarte o utilizar micrófonos distintos.
Las voces superpuestas confunden a la IA. Cuando grabo entrevistas, recuerdo a la gente que haga pausas entre preguntas.
La mayoría de las principales aplicaciones de transcripción actuales, como VOMO u Otter, incluyen la identificación del hablante y cierta capacidad para corregir errores en conversaciones con varios interlocutores.
Mejorar la postgrabación de audio
A veces no se puede evitar el ruido de fondo. Yo utilizo la reducción de ruido de Audacity para limpiar silbidos o zumbidos.
La ecualización puede aumentar la claridad vocal. Algunas herramientas de IA como Krisp o RTX Voice también ayudan a suprimir el ruido antes de la transcripción.
Errores a evitar
No grabes en ambientes ruidosos como cafeterías o cerca de ventiladores. Evita utilizar el micrófono de tu portátil por defecto.
Prueba siempre tu configuración antes de la sesión real: comprueba si hay distorsiones o problemas de volumen.
Lista de comprobación rápida
- Utiliza un micrófono externo de calidad
- Grabe en una habitación tranquila y tratada
- Coloca el micrófono a 20-30 cm de la boca
- Controla los niveles de audio, evita los recortes
- Hablar con claridad y firmeza
- Editar el audio para reducir el ruido antes de la transcripción
PREGUNTAS FRECUENTES
¿Cómo puedo reducir el ruido de fondo?
Graba en salas silenciosas y utiliza herramientas de reducción de ruido en postproducción.
¿Qué formato de audio es mejor?
Se prefiere WAV por la precisión de la transcripción; se acepta MP3 de alta calidad.
¿A qué distancia del micrófono?
Aproximadamente 8-12 pulgadas para equilibrar la claridad y reducir los estallidos.
Con un poco de cuidado en la configuración y la técnica de grabación, tus transcripciones serán mucho más claras y requerirán menos edición. Créeme, estos consejos me han ahorrado horas de limpieza y harán que tus proyectos de transcripción vayan como la seda.
COMPARTIR :
Facebook Twitter Reddit Linkedin
VOMO PARA REUNIONES
Transforma tus reuniones con VOMO
Disfruta de grabación de reuniones sin fricción, transcripción de alta precisión y resúmenes inteligentes. Deja que VOMO sea tu asistente de notas mientras te concentras en lo más importante.