Yes. Zoom can automatically transcribe a recorded meeting—but only if the recording is saved to the Zoom cloud and you have the right account type. When enabled, Zoom generates a separate transcript file (VTT) after the meeting, which includes timestamps and can even be displayed as captions within the recorded video.
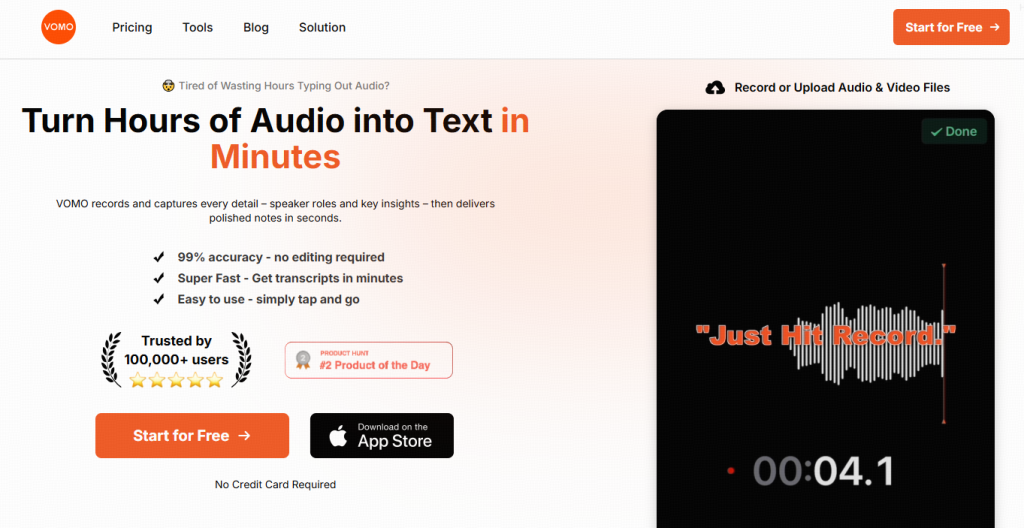
However, since Zoom transcription only supports English and cloud recordings, if you need to transcribe local audio files or require transcription in other languages, it’s better to choose third-party software like VOMO.
This guide explains the requirements and steps to enable or disable transcription at the account, group, and user levels.
Requirements for Zoom Meeting Transcription
To use Zoom’s transcription feature, you need:
- A Pro, Business, Education, or Enterprise Zoom account.
- Cloud recording 사용하도록 설정합니다.
- Admin or owner privileges if turning it on for a group or account.
If you meet these conditions but don’t see the option, you may need to submit a request to Zoom Support.
Zoom’s transcription works by converting 오디오를 텍스트로 변환, helping users capture conversations for easier review and accessibility.
How to Enable Audio Transcripts for All Users in an Account
Admins can enable transcription for everyone in an account:
- Sign in to the Zoom web portal as an admin.
- 다음으로 이동 Account Management → Account Settings.
- 열기 Recording & Transcript 탭을 클릭합니다.
- Ensure Cloud Recording is turned on.
- 아래 Advanced cloud recording settings, check Create audio transcript → click 저장.
- (Optional) Lock the setting to prevent others from changing it.
This ensures all cloud recordings in the account generate transcripts automatically.
How to Enable Audio Transcripts for a Group
If you want to allow transcription for specific teams:
- Sign in to the Zoom web portal as an admin.
- 다음으로 이동 User Management → Groups.
- Select the target group.
- 열기 Recording & Transcript 탭을 클릭합니다.
- 사용 Cloud Recording if not already on.
- Check Create audio transcript under advanced settings → click 저장.
Note: If this option is locked, it must be changed at the account level first.
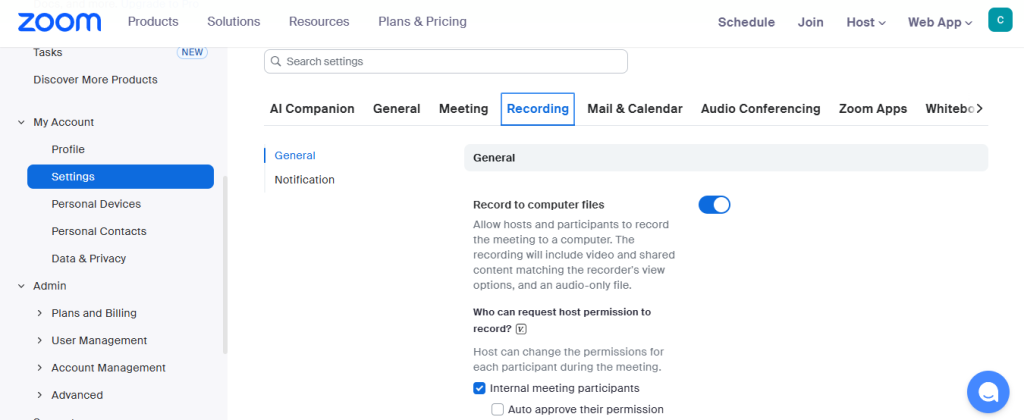
How to Enable Audio Transcripts for Individual Users
For personal use:
- Sign in to the Zoom web portal.
- 열기 Settings → Recording.
- Ensure Cloud Recording 가 활성화되어 있습니다.
- 아래 Advanced cloud recording settings, select Create audio transcript → click 저장.
If the option is unavailable, it may be restricted by your admin or account owner.
Additional Features of Zoom Transcription
Zoom’s transcription isn’t just about generating text—it includes helpful extras:
- Closed Captions: Display transcript text directly within the meeting recording.
- 검색 기능: Search for words or phrases inside the transcript to quickly locate key discussions.
- Language Options: While the default transcript is in English, you can regenerate the file in other supported languages, such as Spanish, French, German, Japanese, and more.
This makes transcripts more useful for global teams.
Why Use Zoom Transcripts?
Once your meeting is transcribed, you can:
- Quickly search for keywords instead of replaying entire meetings.
- Share the transcript instead of sending a large video file.
- Repurpose conversations into meeting notes, blog posts, or emails.
- Improve accessibility for team members who prefer reading.
For some workflows, you may also need 비디오를 텍스트로 변환 conversion, where both spoken content and visual elements of a meeting are captured for analysis.


